
Wednesday, October 16, 2013
Tuesday, September 24, 2013

Wednesday, June 26, 2013

Tuesday, June 25, 2013


Monday, June 24, 2013
Friday, June 7, 2013
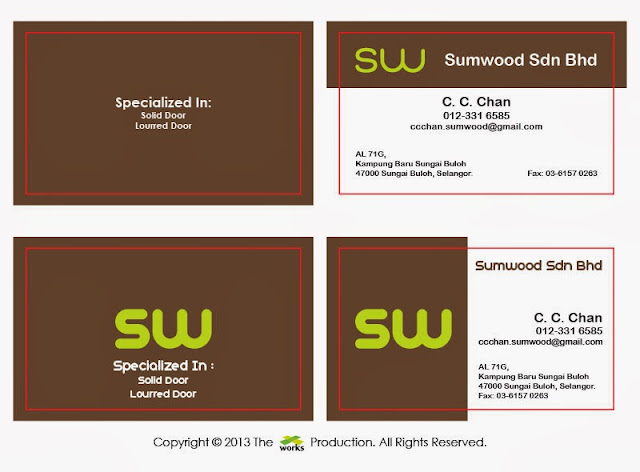
Brochure Design: Sky Horse Security Door Sdn Bhd
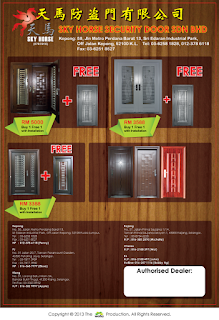
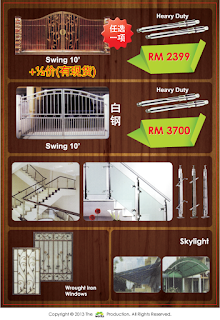


I was requested to make an extra variant for the design, which has lighter color. Which one do you prefer? The white or the brown?
Thursday, June 6, 2013
Wednesday, June 5, 2013

Tuesday, June 4, 2013
Monday, June 3, 2013


Friday, May 31, 2013

Thursday, May 30, 2013


Friday, May 17, 2013

Wednesday, May 15, 2013

Wednesday, May 8, 2013


Monday, May 6, 2013
Thursday, April 25, 2013

Wednesday, April 24, 2013

Monday, April 22, 2013

Friday, April 19, 2013

Monday, April 15, 2013


Wednesday, April 10, 2013
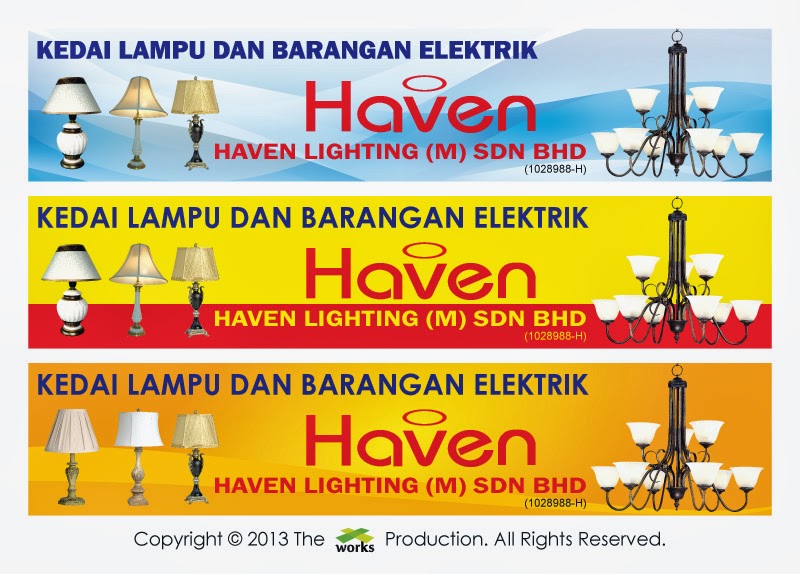
Illustrator's Tip: 5 Easy Steps To Prepare Banner/Bunting For Printing

On today's Illustrator's tip of the day, I'm going to show you my method of preparing the banner or bunting file for printing. Do note that my method is not the absolute way to do it and there are plenty of ways to prepare them prior to sending it for printing.
The method I'm going to show here serves as a guideline for newbie designers so that they know how to get things started right.
1. CMYK Mode
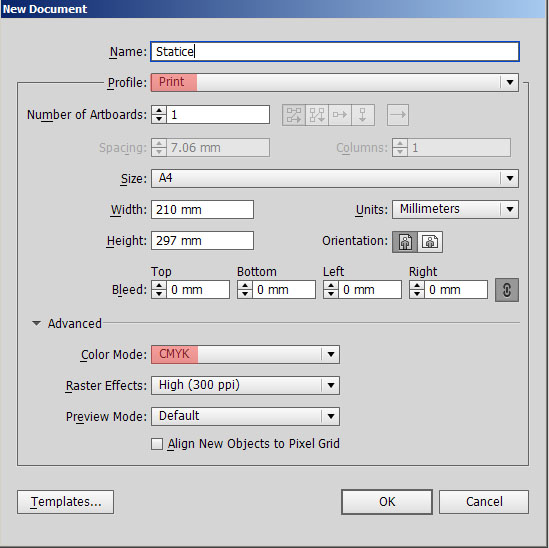
The rule of thumb for creating any printing file is to start it with a CMYK mode. This is one important step that is often overlooked by designers. During my past work in digital printing industry, I noticed a lot of designer students adjusted colors with HEX Code or RGB color slider. It's not the right way to do it so it is advisable to start learning color mixing with basic CMYK.
2. Actual Size
Illustrator allows the designers to create the design file in different measurements such as:- Points
- Picas
- Inches
- Millimeters
- Centimeters
- Pixels
In printing, I normally use the inches or millimeters and again, this is just my way of doing it. You are free to use centimeters or any others depend on personal preference. However, pixels is not recommended for preparing a printed file.
For this example, the bunting size is 15 Feet x 3 Feet so the actual size for this artwork would be 180 Inches x 36 Inches.
For this example, the bunting size is 15 Feet x 3 Feet so the actual size for this artwork would be 180 Inches x 36 Inches.
3. PPI Setting

Since banner and bunting is viewed at a distance away, the dots per inch (ppi) can be set at lower value as contrary to the one that you will normally setup in a magazine, which is 300 ppi.
Therefore, it always a good idea to set it at the range between 100 and 150 ppi to be safe and to preserves it clarity in printings.
4. Save in JPG
Previously in my post, I have discussed about the XWorks: Design's Tip: Flattening Image. Have a brief reading to understand the importance of it as this somehow related in this step.5. Ready to Print
Now everything is ready and all that left to do is to send this to your printing supplier for printing. Do leave your comments whether you think this is useful or vice versa.Monday, April 8, 2013
Friday, April 5, 2013


Friday, March 29, 2013

Monday, March 25, 2013

Thursday, March 21, 2013
Design's Tip: Flattening Image
Before I begin, I would like to ask how many of you have actually flatten or merged all the layers of your work before sending them for printing. This may seems like a trivia and in fact, it is trivia to most of the designers out there. However, having your artwork and design works flatten really make a huge difference.
Reduced File Size
One of the most crucial reasons to flatten your design works is it greatly reduce your file size. Everyone loves having a small size as it makes:- sending it through email possible and can be done swiftly
- loading file on older computers a lot faster without too much problems
- less likely to have printer pooling error
Protect Designer's Intellectual Property
The difference of having a file flatten is it makes it a lot harder to steal your work. A design work is normally comprised of multiple layers of image stacked on one another. As the file is flatten, it is impossible to retrieve an image as whole as partly of it may been covered by another layer or object in the image. People may still be able to steal your work but it will be way way harder and some people would just give up on doing so.
Another benefit from flattening image is it makes all your Layer Styles and Adjustment Layers invisible to the eyes of other people. The knowledge of manipulating your own design work is what makes you unique in the market and people wants you for your unique work. Imagine what would happen if everyone know your secrets, skills and techniques? That makes you are not unique anymore and you are going to lose your clients because they have the options of getting the similar design work at probably a cheaper price.
Flatten Image Method
Lastly but not least, you could do it by going to Layer > Flatten Image at Adobe Photoshop or pressing Ctrl + E. Let me know about your comment and other methods used to protect your own work. Have a great day.Tuesday, March 19, 2013
Artwork: Higurashi no Naku Koro Ni
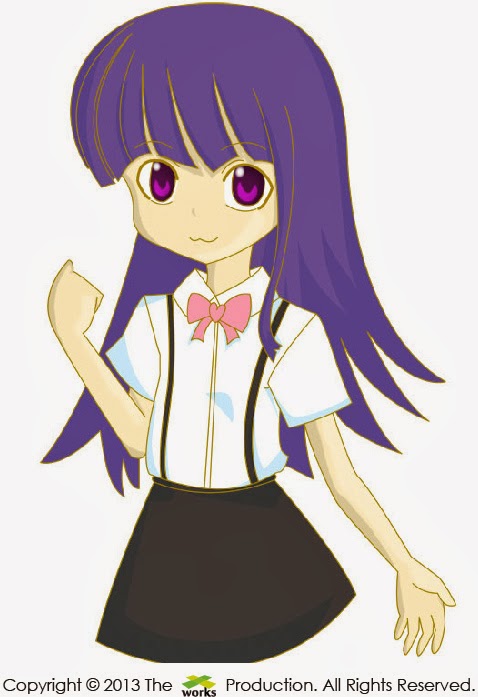
An old artwork I found in my harddisk; it was done on 11 March 2008 for a friend.
Subscribe to:
Posts (Atom)