On today's Illustrator's tip of the day, I'm going to show you my method of preparing the banner or bunting file for printing. Do note that my method is not the absolute way to do it and there are plenty of ways to prepare them prior to sending it for printing.
The method I'm going to show here serves as a guideline for newbie designers so that they know how to get things started right.
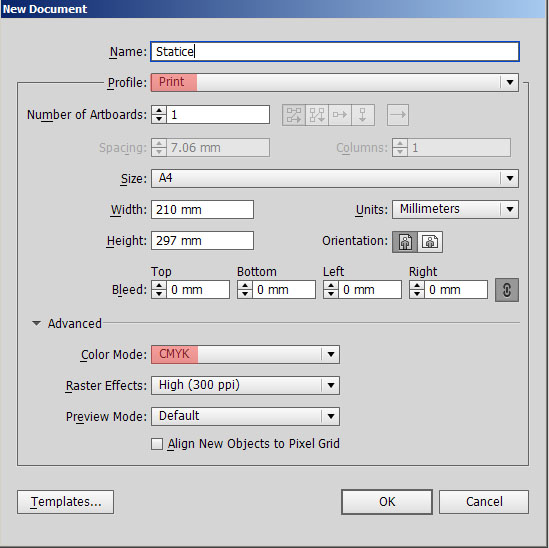
1. CMYK Mode
The rule of thumb for creating any printing file is to start it with a CMYK mode. This is one important step that is often overlooked by designers. During my past work in digital printing industry, I noticed a lot of designer students adjusted colors with HEX Code or RGB color slider. It's not the right way to do it so it is advisable to start learning color mixing with basic CMYK.
2. Actual Size
Illustrator allows the designers to create the design file in different measurements such as:
- Points
- Picas
- Inches
- Millimeters
- Centimeters
- Pixels
In printing, I normally use the inches or millimeters and again, this is just my way of doing it. You are free to use centimeters or any others depend on personal preference. However, pixels is not recommended for preparing a printed file.
For this example, the bunting size is 15 Feet x 3 Feet so the actual size for this artwork would be 180 Inches x 36 Inches.
3. PPI Setting
Since banner and bunting is viewed at a distance away, the dots per inch (ppi) can be set at lower value as contrary to the one that you will normally setup in a magazine, which is 300 ppi.
Therefore, it always a good idea to set it at the range between 100 and 150 ppi to be safe and to preserves it clarity in printings.
4. Save in JPG
Previously in my post, I have discussed about the
XWorks: Design's Tip: Flattening Image. Have a brief reading to understand the importance of it as this somehow related in this step.
5. Ready to Print
Now everything is ready and all that left to do is to send this to your printing supplier for printing. Do leave your comments whether you think this is useful or vice versa.